DIY Bunny Bag
Easter is coming up quickly and this is a great time to dust off the old sewing machine and do a fun sewing project with your kids. At my house my kids always want me to teach them how to sew on the sewing machine but then it seems that I always get anxious and end up taking over and doing most of the project myself (oh the joys of motherhood). And guess who never ends up learning how to sew….?
Yep, they never do…
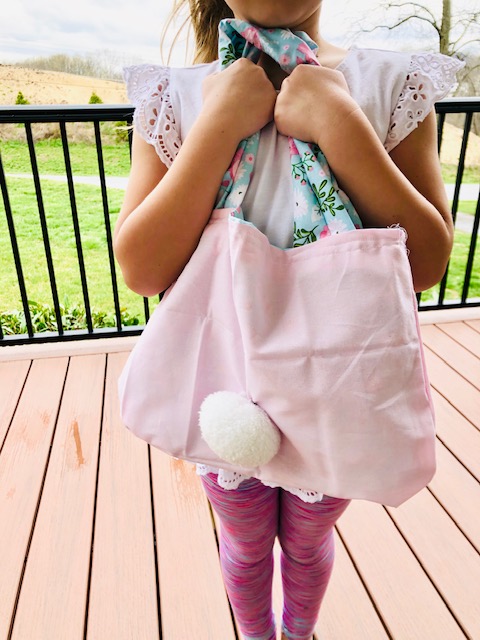
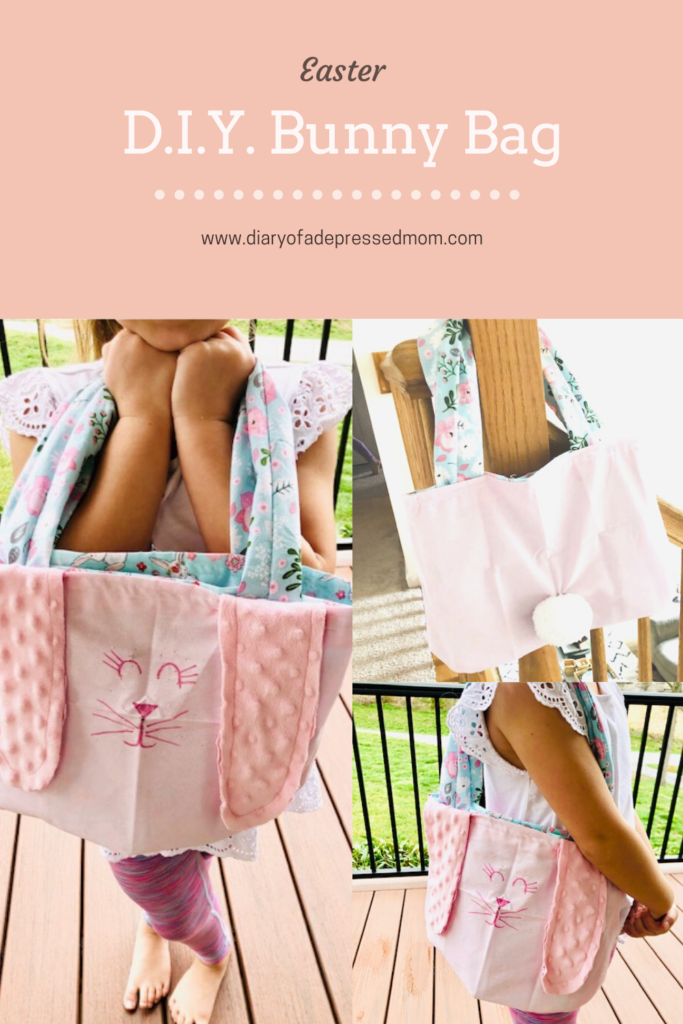
One of these days I will figure out this whole teaching letting go thing… well until then here is a bunny bag we made for sweet H.

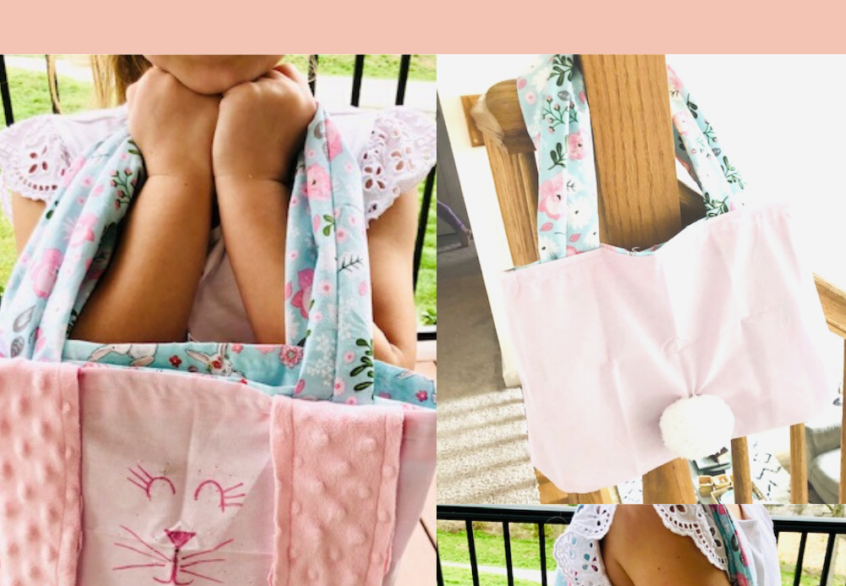
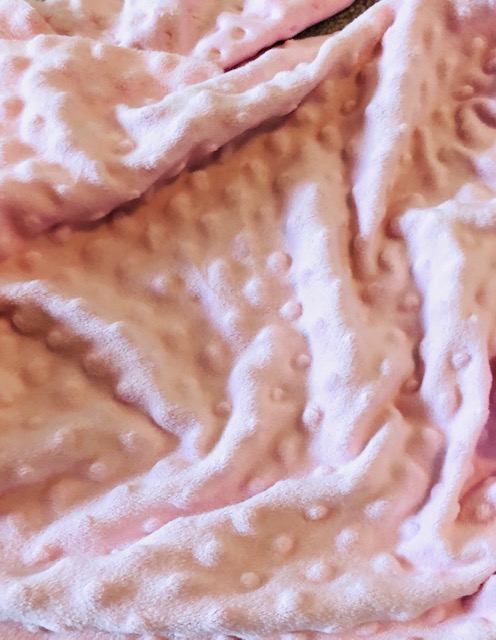
She was so excited and very particular about how she wanted it to look. If you notice all the small holes all over the bunny’s face that is because we originally used yarn and embroidered the bunny’s face on, but H was very disappointed in the way that turned out so we cut the yarn off and drew on the perfect bunny face (that she designed herself).
Then H declared she was completely satisfied with the outcome.
Except she did come back an hour later and said, “Mom we should have put some pockets in this bag”.
OH Brother!
But realistically that would have been super easy to do but oh well maybe next time.
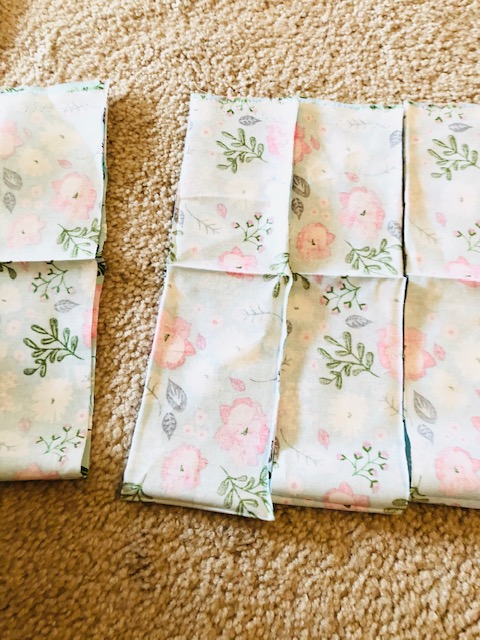
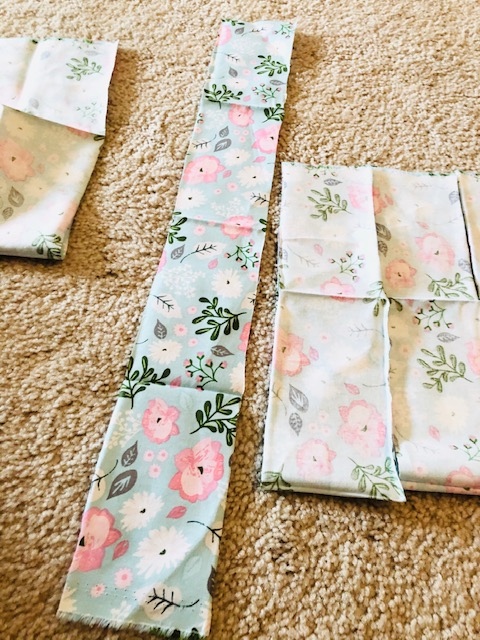
I didn’t get any pictures of the first couple of steps because I kinda forgot but basically we just cut out the shape of the bag we wanted and did it on a fold and then did that 4 times and whala, we had our outside and our liner.

Then you just sew right sides together and turn the outside layer right side out, and the inside lining you leave the way it is and you stick it inside the outside layer.
But wait before you put the layers together. I would take your tail and sew it on the back. We used an actual bunny tail from a bunny costume we had, but you can buy large white pom poms or even make one from yarn if you want.

After the tail is snug and tightly hand sewn on, then you want to cut your ears out. I just made my own pattern and drew what I thought resembled bunny ears and cut them out 4 times. Then with wrong sides together I sewed both sets of them, leaving the rough hem on the outside.
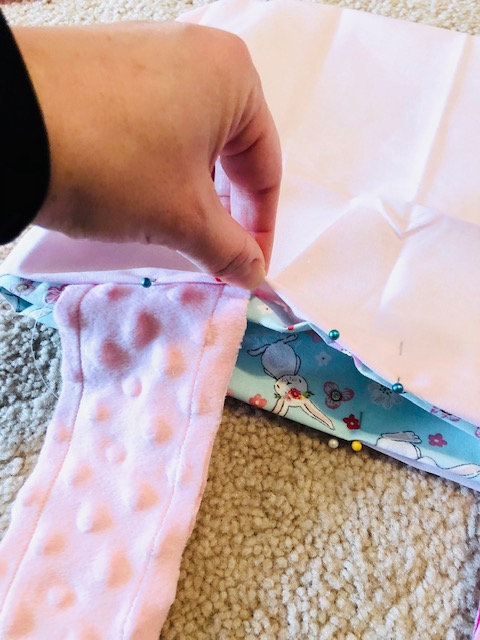
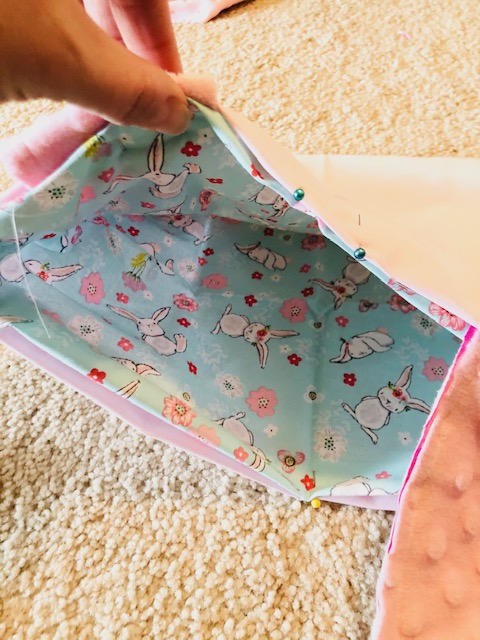
Now take the top part of the lining and the top part of the outside of the bag and fold under the whole way around.
Next, take your ears and place them where you think looks right between the two layers and pin in place.
Easy Peasy!
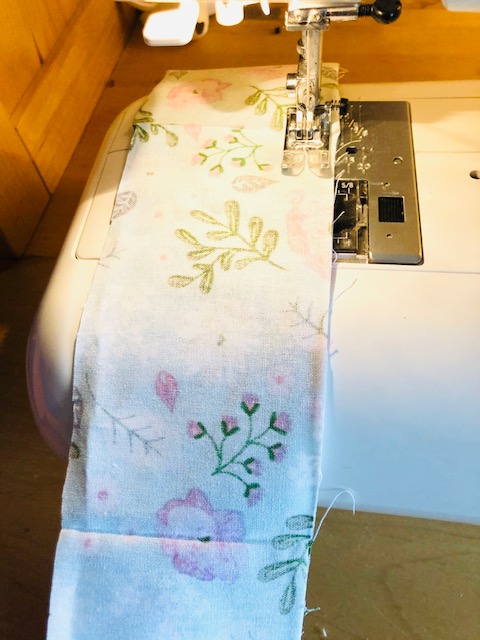
Time to make the handles!
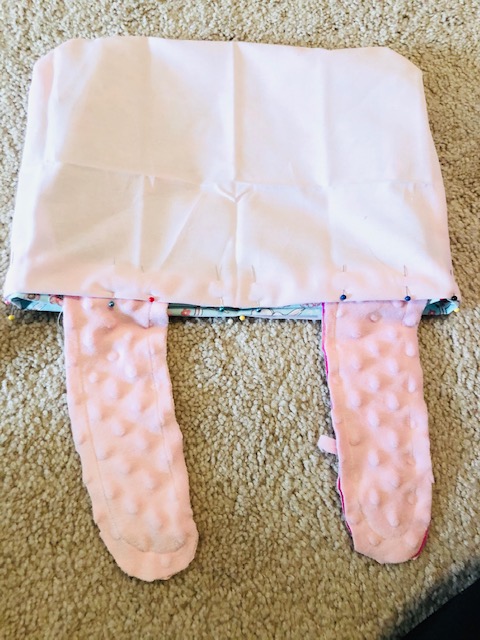
Cut 4 long strips of fabric and make them as wide or narrow you want. Then sew right sides together leaving the ends open.

Sew down both sides of the strips and turn right sides out.

Now take your handles and place them where you would like them to be on your bag, putting the ends between the top layer and the lining, just like you did with the bunny ears. Then pin in place.
Then take your bag and sew all around the top I sewed around it twice to make sure it was extra durable.
Then you are finished.
We didn’t draw on the bunny face until the very end, but if you don’t want to wait you can draw it on or sew it on in the very beginning before you sew your front and back together.


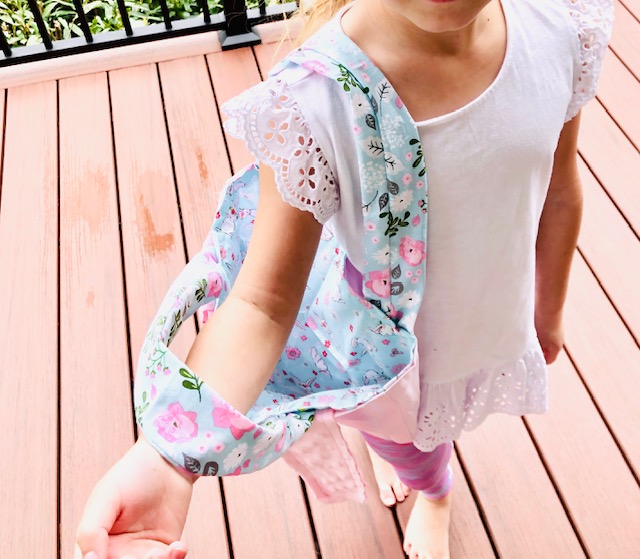
She has been carrying this bag around with her all day long. She designated it as her stuffed puppy dogs diaper bag.
She is as happy as can be.
What are your favorite Easter sewing projects you have done with your kids?
HAPPY EASTER!!